How To Clean AC Evaporator Coil in 6 Safe Steps?
Your ac evaporator coil is one of the most important components inside your cooling system. When it becomes coated with dust, debris, or microbial buildup, your air conditioner can lose efficiency and struggle to keep your home comfortable. Over time, a dirty coil can even lead to freezing, poor airflow, and system damage. If performance has already declined, professional service similar to what is provided during air conditioning troubleshooting and repair may be necessary.
In this guide, you will learn:
- Why evaporator coil cleaning matters
- 6 safe steps to clean it properly
- Signs your coil needs attention
- DIY safety precautions
- When to call a professional
Why Keeping Your Evaporator Coil Clean Is So Important
The evaporator coil is responsible for absorbing heat from indoor air. As warm air passes over the coil, refrigerant inside removes heat and sends cooled air back into your home. When dirt builds up on that surface, it reduces the coil’s ability to transfer heat efficiently.
For homeowners in Rock Hill, SC and surrounding areas, where cooling systems run for extended periods during warm and humid months, a clean coil plays a major role in comfort and energy performance.
Routine coil cleaning provides several advantages:
- Stronger Cooling Output: Restores proper heat absorption and consistent airflow.
- Lower Utility Bills: Reduces run time and energy consumption.
- Improved Indoor Air Quality: Minimizes dust and microbial buildup inside the air handler.
- Reduced Risk of Ice Formation: Prevents restricted airflow that can lead to frozen coils.
- Extended System Lifespan: Decreases strain on compressors and blower motors.
Neglecting maintenance can gradually reduce efficiency and increase the likelihood of costly repairs.
6 Safe Steps To Clean Your AC Evaporator Coil
Cleaning an evaporator coil requires careful handling. The aluminum fins are delicate, and improper cleaning can cause damage. Below are six safe steps homeowners can follow for light surface cleaning. If heavy buildup or mechanical issues are present, professional service is recommended.
1. Shut Off Power Completely
Before accessing any internal components, turn off power to the system.
This includes:
- Switching off the thermostat
- Turning off the breaker at the electrical panel
- Confirming the system is fully powered down
Working on a live HVAC system can result in electrical injury. Always verify that the unit is off before proceeding.
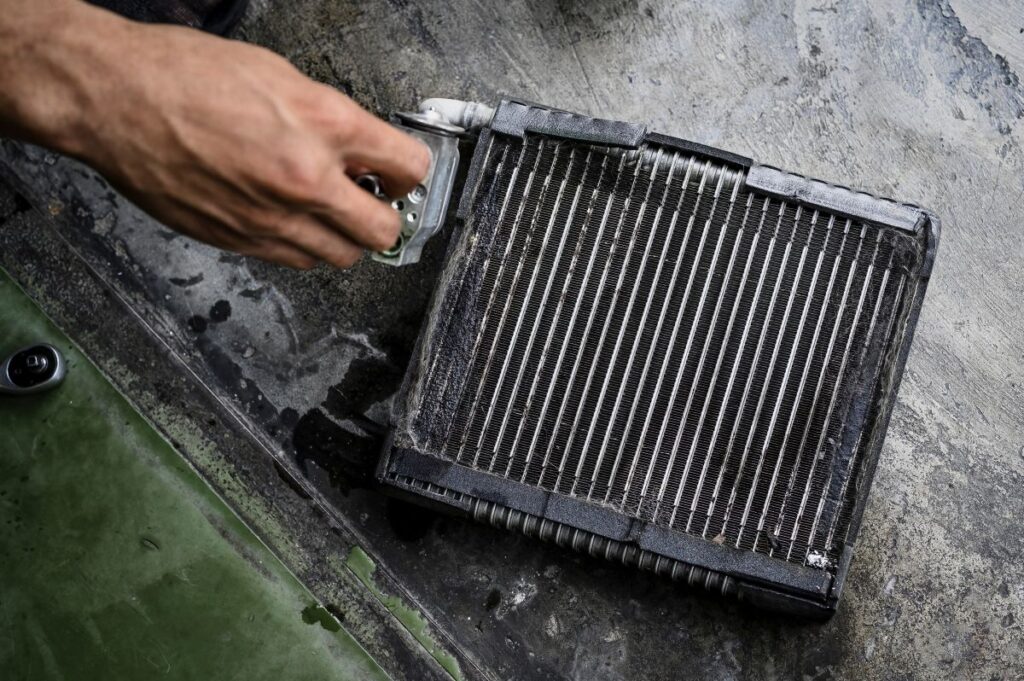
2. Access the Evaporator Coil
The evaporator coil is typically located inside the indoor air handler or furnace cabinet. You may need to remove access panels using a screwdriver.
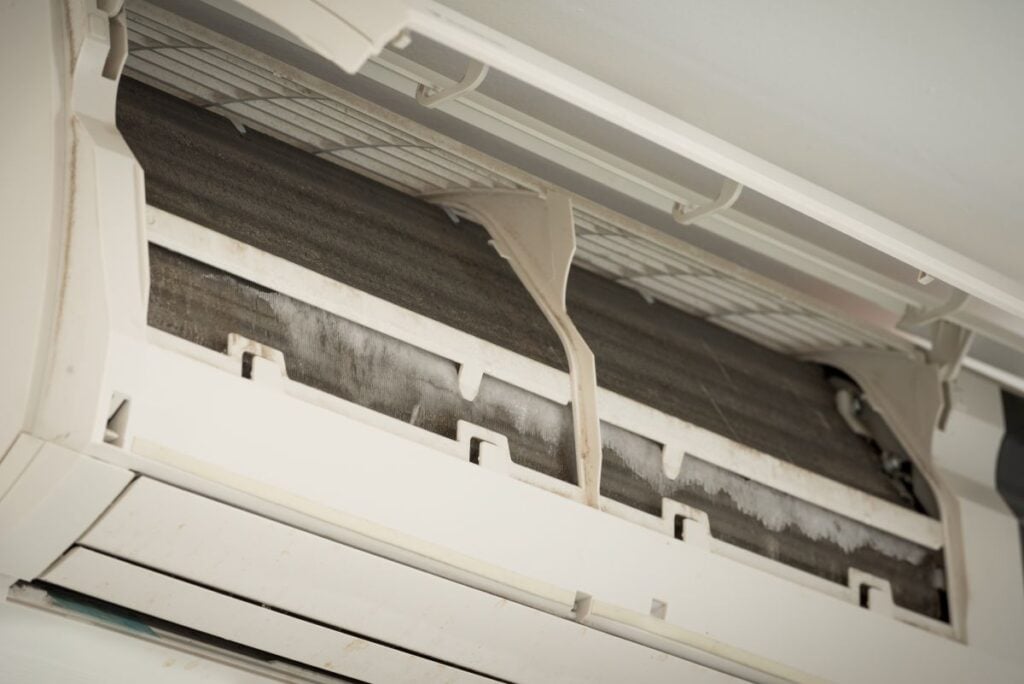
Once opened, inspect the coil surface for:
- Visible dust accumulation
- Matted debris
- Signs of ice or moisture
- Mold or discoloration
Avoid bending the thin aluminum fins during inspection.
3. Remove Loose Debris With a Soft Brush
Use a soft bristle brush to gently remove surface dirt.
Important precautions include:
- Brushing in the direction of the fins
- Avoiding excessive pressure
- Preventing fin bending
A vacuum with a soft brush attachment may also be used carefully to remove light debris. This step prepares the coil for deeper cleaning.
4. Apply a No Rinse Coil Cleaner
Specialized evaporator coil cleaners are designed to break down grime safely. Use a cleaner labeled for indoor coil use.
Application guidelines:
- Spray evenly across the coil surface
- Allow the cleaner to foam and penetrate buildup
- Follow manufacturer instructions for dwell time
Most no rinse formulas dissolve residue and drain away naturally when the system resumes operation.
5. Clear the Condensate Drain Line
While cleaning the coil, inspect the condensate drain line. Dirt and algae buildup can restrict drainage and cause water leaks.
To clear the line:
- Locate the exterior drain outlet
- Use a wet dry vacuum to remove debris
- Flush with warm water if needed
Proper drainage prevents moisture buildup and mold growth.
6. Reassemble and Restore Power
After cleaning and allowing the coil to dry, reattach all panels securely. Restore power at the breaker and thermostat.
Once the system runs:
- Listen for unusual noises
- Monitor airflow
- Check for proper cooling performance
If cooling remains weak or ice forms again, professional evaluation may be necessary.

Signs Your Evaporator Coil Needs Cleaning
Sometimes homeowners are unsure whether cleaning is needed. Several warning signs indicate buildup is affecting performance.
Weak Airflow From Vents
When airflow feels weaker than normal, a dirty coil may be restricting air movement.
Restricted airflow forces the system to run longer cycles and struggle to maintain temperature.
Ice Formation on Refrigerant Lines
If you notice ice on refrigerant tubing or near the air handler, airflow restriction or dirty coils may be the cause.
Ice buildup reduces cooling capacity and can damage compressors if left unresolved.
Rising Energy Bills
Gradual increases in energy costs without changes in usage may indicate reduced system efficiency.
Dirty coils prevent proper heat transfer, causing the system to consume more electricity.
Musty Odors During Operation
Moisture on dirty coils can create an environment for microbial growth.
For homeowners in Rock Hill, SC and surrounding areas, high humidity can intensify odor problems if coils are not maintained regularly.
DIY Safety Considerations Before Cleaning
While basic surface cleaning is possible for some homeowners, certain precautions are important.
- Never use high pressure water indoors
- Avoid harsh chemical cleaners not designed for HVAC systems
- Do not bend or comb fins aggressively
- Stop immediately if ice or refrigerant leaks are present
Improper cleaning can lead to more expensive repairs.
If the coil appears heavily corroded or clogged, professional cleaning is the safest approach.
When Professional Cleaning Is Recommended
Some situations require trained technicians and specialized tools.
Professional service is recommended when:
- Ice continues forming after filter replacement
- Heavy mold buildup is visible
- Refrigerant levels may be low
- System short cycling persists
- Drainage problems continue
Technicians use advanced cleaning methods such as low pressure rinsing, coil combing, and airflow testing to restore full efficiency.
For homeowners in Rock Hill, SC and surrounding areas, annual professional maintenance ensures safe and thorough cleaning beyond surface level debris.
How Often Should You Clean an Evaporator Coil?
Cleaning frequency depends on usage, indoor air quality, and environmental factors.
General guidelines include:
- Light inspection annually
- Professional cleaning every one to two years
- More frequent service in homes with pets or high dust levels
Changing air filters regularly reduces coil contamination and extends cleaning intervals.
Comparing Dirty vs Clean Coil Performance
Below is a simplified comparison of how a dirty coil impacts system performance compared to a clean one.
Dirty Coil:
- Reduced heat transfer
- Longer cooling cycles
- Higher energy consumption
- Increased ice formation risk
Clean Coil:
- Efficient heat absorption
- Shorter run times
- Stable airflow
- Improved humidity control
This difference directly affects comfort and operating costs.
Protect Your Cooling System With Routine Maintenance
Your evaporator coil plays a central role in keeping your home cool and comfortable. Regular cleaning prevents airflow restriction, reduces strain on components, and supports lower energy bills. While basic maintenance can address light buildup, deeper cleaning and inspections require professional expertise.
If you are experiencing weak cooling, rising energy bills, or signs of ice formation, the experienced team at Panther HVAC can help. For reliable service in Rock Hill, SC and surrounding areas, contact us today to schedule an inspection and keep your system operating safely and efficiently with Panther HVAC
