How To Clean Air Ducts In 7 Easy Steps
Indoor air quality directly impacts your comfort, health, and even your energy bills. That’s why many homeowners wonder how to clean air ducts safely and effectively. While you can do some basic cleaning on your own, there’s more to it than just vacuuming vents. Clean ducts help reduce allergens, improve system efficiency, and keep your home fresher year-round. If you’d like to explore professional options, you can also schedule a full duct cleaning service for deeper results.
In this guide, we’ll walk through why duct cleaning matters, the steps you can take at home, and when it’s best to call in the pros.
Here’s what you’ll learn:
- Why clean air ducts are important for your health and home
- A step-by-step process to tackle duct cleaning yourself
- Common questions homeowners have about duct maintenance
- Maintenance tips and signs it’s time for professional help
Why Clean Air Ducts Matter
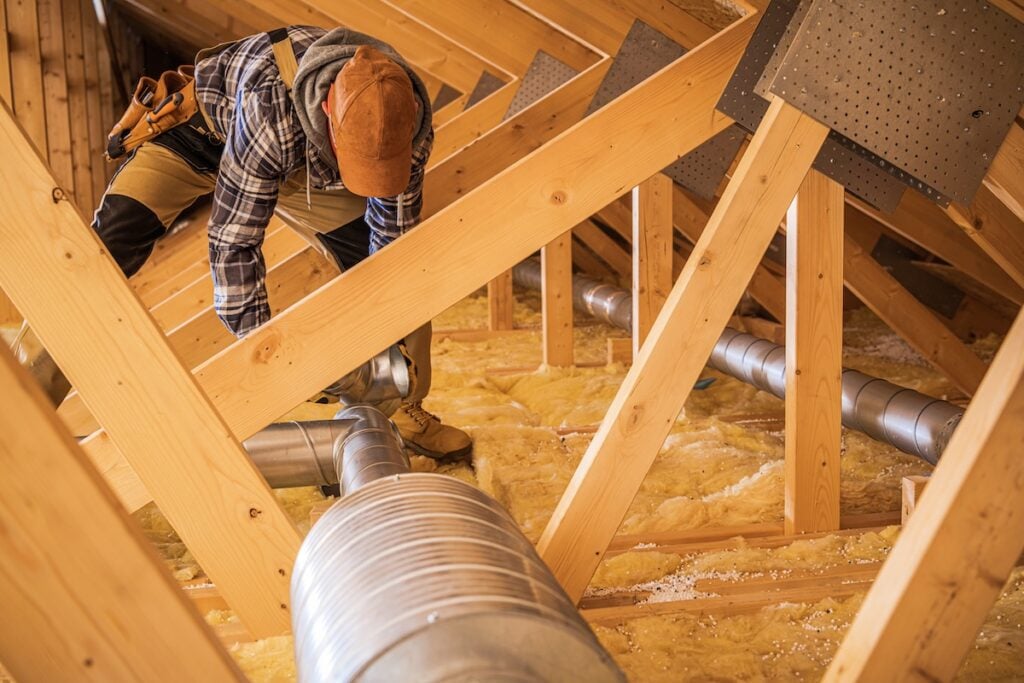
Dust, pollen, pet dander, and even mold spores can accumulate inside your HVAC ducts over time. Every time your system runs, those particles circulate back into the air you breathe. Cleaning your air ducts may not be something you think about often, but it plays a big role in both health and comfort.
Here are the biggest benefits of clean ducts:
- Healthier air: Cleaner ducts mean fewer allergens and irritants floating around, which helps those with asthma or seasonal allergies.
- Better efficiency: Dust buildup makes your HVAC system work harder, raising energy use. A clean system runs more smoothly.
- Longer equipment life: Less strain on your system reduces wear and tear, which can extend the lifespan of your furnace or AC.
- Odor reduction: Removing trapped dust and debris helps eliminate musty or stale smells that sometimes linger in a home.
7 Steps To Clean Air Ducts
Learning how to clean air ducts can give you peace of mind and fresher indoor air. While professional service goes deeper, these steps will help you handle a light cleaning safely and effectively.
1. Gather the right tools
Before starting, assemble the essential HVAC tool you’ll need:
- A vacuum with a long hose (a shop vac works best)
- A screwdriver or drill to remove vent covers
- A stiff brush or toilet brush for scrubbing
- Microfiber cloths for wiping dust
- A new air filter for replacement
Having everything ready will make the process smoother.
2. Turn off your HVAC system
Always switch off your heating or cooling system before you begin. This prevents dust from circulating while you work and keeps you safe while removing covers and accessing ducts.
3. Remove and clean vent covers
Use your screwdriver to unscrew the vent covers and registers. Wash them with warm, soapy water, then dry completely before reattaching. This step alone can make a noticeable difference in airflow.
4. Loosen dust with a brush
Insert a stiff brush into the ducts to break up any dust clinging to the walls. Be careful not to damage the duct lining. Focus on areas just inside the vents where buildup is heaviest.
5. Vacuum thoroughly
Use your vacuum’s hose attachment to suck up the loosened dust and debris. A shop vac with a long hose is ideal because it has stronger suction and can reach deeper into the ducts.
Pro tip: Wrap a clean microfiber cloth around the hose to help collect finer particles.
6. Wipe down duct openings
After vacuuming, use a damp microfiber cloth to wipe around the edges of the ducts. This step helps capture any dust your vacuum may have missed.
7. Replace your air filter
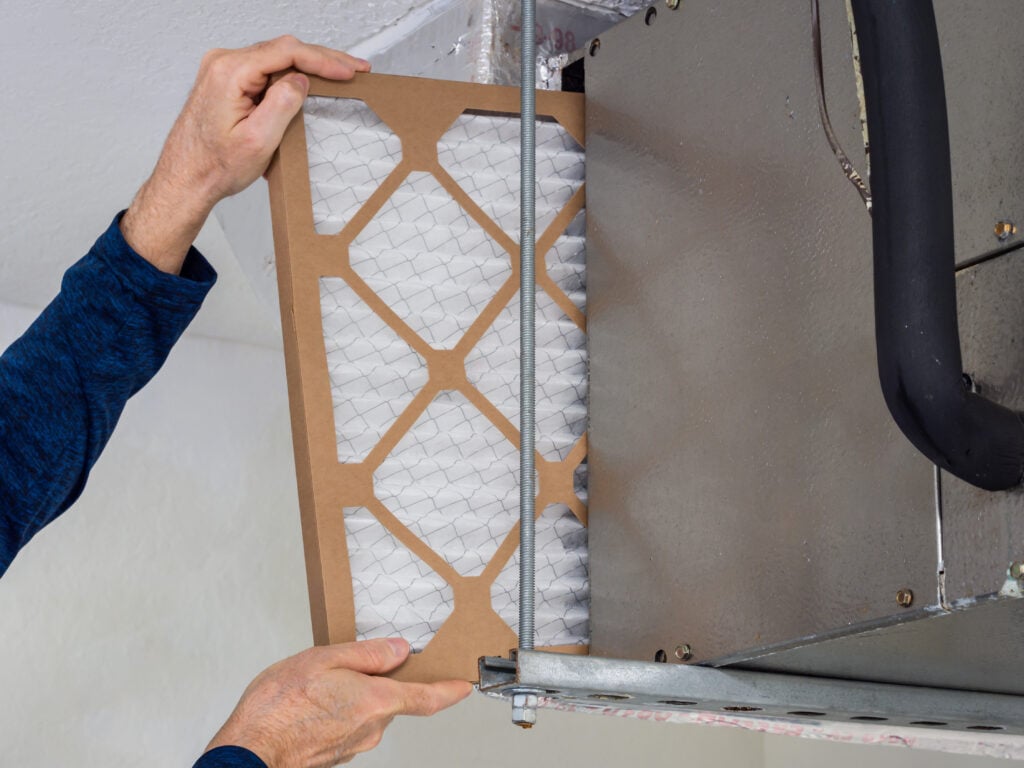
Finish by replacing your HVAC filter with a fresh one. A clogged filter is one of the biggest contributors to dirty ducts, so this step helps prevent rapid buildup.
Common Questions About Cleaning Air Ducts
Homeowners often have questions about when to clean or repair air ducts. If you are wondering about how frequently it should be done, how safe it is, and its effectiveness, here are some of the most common concerns:
- How often should I clean my air ducts?
Most homes benefit from a professional duct cleaning every 3–5 years. However, if you have pets, allergies, or recent renovations, you may need it more often. - Can cleaning ducts reduce energy bills?
Yes. Removing dust improves airflow, which allows your system to run more efficiently. While savings vary, some homeowners notice a drop in monthly bills. This cleaning is a vital step toward maintaining a healthy and comfortable living space. For more localized advice on achieving a better environment, find out how to improve indoor air quality. - Will cleaning my ducts eliminate mold?
Basic DIY cleaning won’t remove mold. If you suspect mold growth, you’ll need a professional service that uses antimicrobial treatments. - Is duct cleaning messy?
If done carefully, DIY cleaning should only stir up minimal dust. Professionals use specialized vacuums and containment systems to keep things even cleaner.
Extra Tips For Cleaner, Healthier Ducts
Keeping ducts clean is about more than just an occasional vacuum. Here are practical steps to keep your home’s air quality higher between cleanings:
Change filters regularly
Swap out your HVAC filter every 1–3 months depending on your household. Homes with pets or smokers may need more frequent changes.
Schedule regular maintenance
Routine professional HVAC tune-ups help catch airflow issues early. A technician can also check for duct leaks or insulation damage that contribute to dust buildup.
Control dust at the source
- Vacuum and dust your home weekly
- Use a high-quality vacuum with a HEPA filter
- Keep windows closed during pollen season
Watch for warning signs
If you notice unusual smells, visible dust blowing from vents, or worsening allergy symptoms, it may be time for professional duct cleaning. These symptoms often signal a serious buildup of contaminants, prompting the question of whether a simple cleaning is enough or if replacement is necessary. For a comprehensive guide on diagnosing the severity of contamination, find out when to clean or replace air ducts.
When To Call A Professional
While you can handle light maintenance, some situations require expert care. Knowing when to call in a pro saves time and ensures the job is done right.
Signs you need professional duct cleaning
- Visible mold: Dark or fuzzy spots near vents or inside ducts.
- Heavy debris: Excessive dust clumps, pet hair, or construction debris.
- Odors that linger: Musty smells that don’t go away even after cleaning.
- Pest infestations: Rodents or insects can leave behind droppings and contamination.
DIY vs. Professional Cleaning
| Factor | DIY Cleaning | Professional Cleaning |
| Cost | Low (basic tools) | Higher upfront |
| Depth | Surface level | Full-system clean |
| Time | Several hours | 1–3 hours (crew) |
| Effectiveness | Helps reduce dust | Removes allergens, mold, bacteria |
If your goal is truly clean air and long-lasting results, professional duct cleaning is the safer bet. Many services also apply antimicrobial treatments that keep growth away for years.
Investing In Cleaner Air
Learning how to clean air ducts gives you a head start on improving your home’s air quality. A light DIY cleaning removes surface dust, improves airflow, and keeps things fresher between professional visits. But for a deep clean that tackles mold, allergens, and buildup throughout your entire system, professional service is the way to go.
Don’t wait until allergies worsen or your system struggles to keep up. If you’re ready to breathe easier, contact us today to schedule your free 18-point inspection and discover why we’re known as the home of the 2-year growth-free guarantee.
