How To Install Smart Thermostat For Maximum Efficiency
Installing a smart thermostat is one of the most effective ways to enhance your home’s energy efficiency and comfort. These innovative devices can help you save up to 23% on heating and cooling costs while providing convenient remote control of your home’s temperature. Whether you’re a DIY enthusiast or considering professional installation, this comprehensive guide will walk you through everything you need to know about smart thermostat installation.
This article covers the essential steps for how to install smart thermostat systems, safety considerations, compatibility requirements, and troubleshooting tips. You’ll also learn about the benefits of smart thermostats, when to call professionals, and how to optimize your new system for maximum efficiency. We’ll cover:
- Understanding smart thermostats
- 7 step smart thermostat installation
- Benefits of smart thermostat installation
- Maintenance and optimization
🔎 Understanding Smart Thermostats
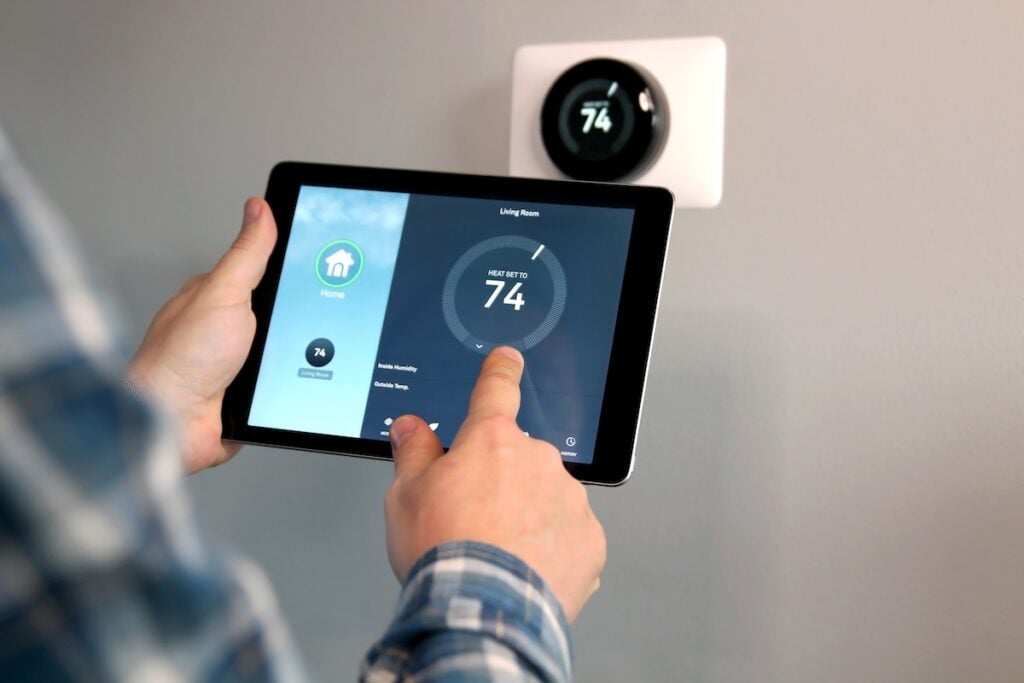
Smart thermostats represent a significant advancement over traditional programmable models. These devices connect to your home’s Wi-Fi network, allowing you to control temperature settings remotely through smartphone apps or voice assistants.
Key Features of Smart Thermostats
Modern smart thermostats offer numerous features that make them valuable home upgrades:
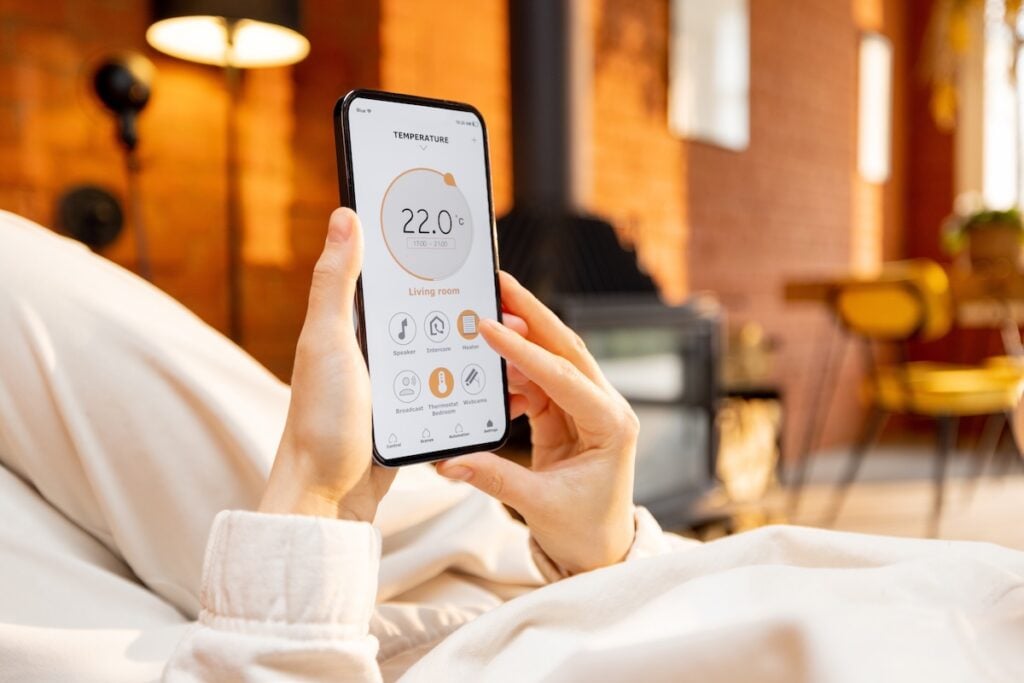
- Remote Access: Control your thermostat from anywhere using your smartphone
- Learning Capabilities: Some models learn your schedule and preferences automatically
- Energy Reports: Track your energy usage and identify saving opportunities
- Geofencing: Automatically adjust temperature when you leave or return home
- Voice Control: Compatible with Alexa, Google Assistant, and other smart home systems
- Weather Integration: Adjust settings based on local weather conditions
Types of Smart Thermostats
Smart thermostats come in several varieties to suit different needs and budgets:
Wi-Fi Enabled Models: Basic smart functionality with remote control capabilities
Learning Thermostats: Advanced models that adapt to your habits and preferences
Programmable Smart Units: Combine traditional scheduling with smart features
Voice-Controlled Systems: Integrate seamlessly with smart home ecosystems
✅ 7 Step Smart Thermostat Installation
Installing a smart thermostat in 7 steps can save you time and energy while upgrading your home’s efficiency. It helps lower energy bills and ensures better control over your heating and cooling system.
1. Turn Off Power and Remove Old Thermostat
Safety comes first when learning how to install smart thermostat systems. Locate your home’s electrical panel and turn off the breaker that controls your HVAC system. This step is crucial for preventing electrical shock and protecting your equipment.
After confirming power is off, remove the faceplate from your existing thermostat. Most units simply pull off, but some may have screws or clips. Take a clear photo of the existing wiring before disconnecting anything. This reference will prove invaluable if you need to troubleshoot later.
2. Identify and Label Wires
Carefully examine the wires connected to your old thermostat. Common wire designations include:
- R or RH: 24-volt power (usually red)
- C: Common wire (usually blue or black)
- W: Heating (usually white)
- Y: Cooling (usually yellow)
- G: Fan (usually green)
Label each wire with tape or sticky notes according to its terminal connection. This prevents confusion during installation and helps if you need to call for professional assistance.
3. Install the New Thermostat Base
Remove the base plate from your new smart thermostat packaging. Most units come with a mounting template to ensure proper placement. Hold the base against the wall and mark screw holes with a pencil.
If your new thermostat base doesn’t align with existing holes, you may need to patch old holes and drill new ones. Use appropriate wall anchors for your wall type, especially if you’re not hitting wall studs.
4. Connect the Wires
This step requires careful attention to detail. Connect each labeled wire to its corresponding terminal on the new thermostat base. Most smart thermostats use either screw terminals or push-in connectors.
If your system lacks a C-wire and your thermostat requires one, you may need to install a power extender kit (often included with the thermostat) or run new wire from your HVAC system.
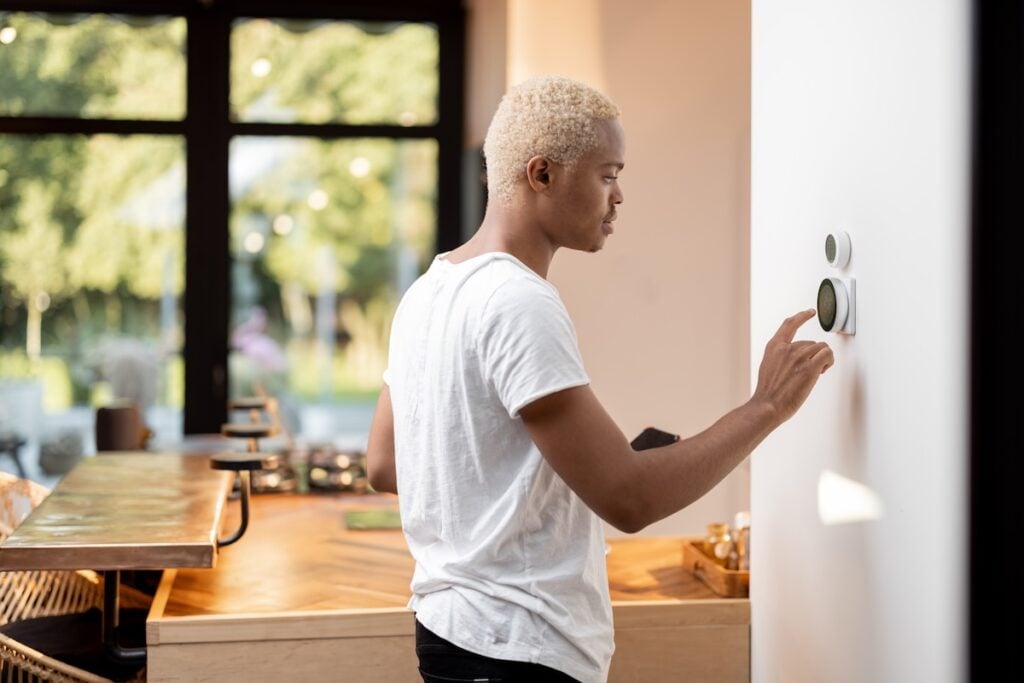
5. Attach the Thermostat Display
Once wiring is complete, carefully attach the thermostat display to the base. Ensure all connections are secure and no wires are pinched or damaged.
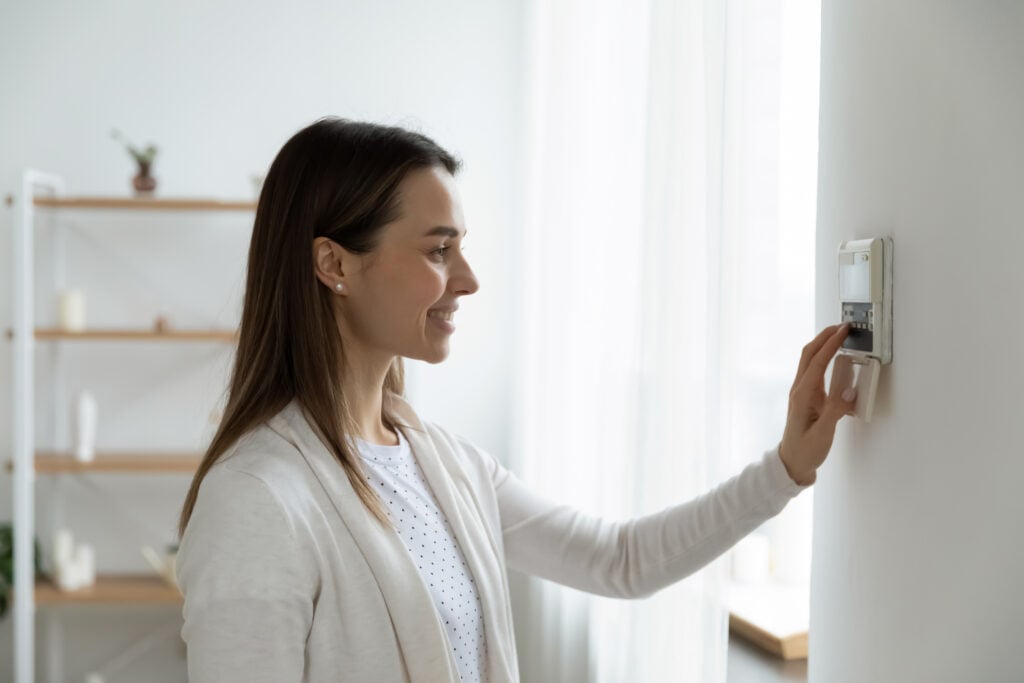
6. Restore Power and Test
Turn the circuit breaker back on and test your installation. The thermostat should power up and display the setup screen. Follow the manufacturer’s instructions for initial configuration.
7. Configure Wi-Fi and Smart Features
Connect your thermostat to your home’s Wi-Fi network using the device’s built-in setup wizard. Download the manufacturer’s app on your smartphone and create an account to access remote features.
⭐️ Benefits of Smart Thermostat Installation
Smart thermostats offer numerous advantages that justify their installation cost and effort.
Energy Savings
Smart thermostats can reduce heating and cooling costs through several mechanisms:
Precise Temperature Control: Maintains more consistent temperatures than manual thermostats
Schedule Optimization: Automatically adjusts temperature when you’re away or sleeping
Usage Tracking: Provides detailed energy reports to identify improvement opportunities
Weather Integration: Adjusts operation based on outdoor conditions
Enhanced Comfort
These devices improve home comfort through advanced features:
Remote Access: Adjust temperature before arriving home
Zoning Capabilities: Some models work with zoned HVAC systems for room-by-room control
Humidity Control: Advanced models monitor and control humidity levels
Air Quality Integration: Some units work with air quality sensors
Convenience Features
Smart thermostats integrate seamlessly with modern lifestyles:
Voice Control: Compatible with popular voice assistants
Smart Home Integration: Works with other connected devices
Mobile Alerts: Receive notifications about system issues or maintenance needs
Automatic Updates: Manufacturers regularly add new features through software updates
🛠️ Maintenance and Optimization
Proper maintenance ensures your smart thermostat continues operating efficiently and provides maximum energy savings.
Regular Maintenance Tasks
Software Updates: Enable automatic updates or check periodically for new features
Filter Reminders: Use built-in reminders to change HVAC filters regularly
Sensor Cleaning: Keep temperature sensors clean for accurate readings
Battery Replacement: Some models use backup batteries that need periodic replacement
Optimization Strategies
Schedule Refinement: Regularly review and adjust schedules based on actual usage patterns
Temperature Setbacks: Optimize heating and cooling setbacks for maximum savings
Geofencing Setup: Configure location-based temperature adjustments
Integration Expansion: Connect with other smart home devices for enhanced automation
Thermostat Troubleshooting: When the Screen Goes Blank
A sudden loss of power or a dark screen is the most disruptive issue you’ll face, requiring immediate troubleshooting. If your thermostat stops responding entirely, you need a quick way to diagnose the cause.
- Check Power Source: Verify the batteries are new (if applicable) or that the circuit breaker hasn’t tripped, cutting power to the HVAC system.
- Diagnose the C-Wire: If your system uses a common wire (C-wire), a disconnection or short can cause the screen to go blank.
- Safety Lockout: A system error in the main HVAC unit can cause the thermostat to shut down for safety. This requires professional inspection.
To learn the detailed common culprits and fixes when the brain of your HVAC system loses power, review our troubleshooting steps for why is my thermostat blank.
👨🔧 Trust Panther Heating & Cooling for Your Smart Thermostat Needs
At Panther Heating & Cooling, we take pride in delivering reliable, professional service you can trust for all your HVAC needs. Our NATE-certified technicians have the expertise to ensure your smart thermostat is installed correctly, safely, and tailored to your home’s unique system.
With years of experience serving South Carolina homeowners, we’re committed to helping you improve your home’s comfort and energy efficiency. Ready to upgrade to a smart thermostat? Contact us today to schedule your installation and experience the Panther difference!
