HVAC UV Light Installation for Your Home in 6 Steps
Your home’s air quality plays a bigger role in your family’s health than most people realize. Mold, bacteria, and airborne viruses circulate freely through your ductwork every time your system runs, and standard filters only go so far. HVAC UV light installation is one of the most effective upgrades a homeowner can make, and if you’ve already explored ways to protect the air your family breathes at home, you know that solutions for reducing biological contaminants are worth a serious look. Whether you’re in Tega Cay and surrounding areas or just beginning your research, this guide walks you through everything you need to know.
What You’ll Learn:
- What UV lights do inside an HVAC system and why they work
- The step-by-step process for installing UV lights in your unit
- How to choose the right type of UV light for your home
- Maintenance requirements to keep the system working properly
- How UV lights compare to other indoor air quality upgrades
Why UV Lights Belong in Your HVAC System
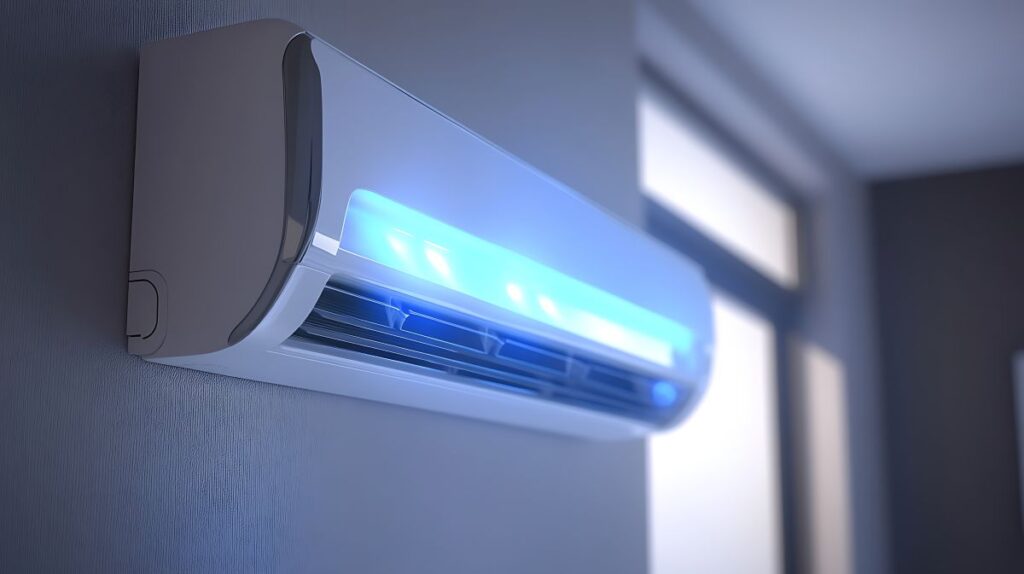
Most homeowners invest in quality filters and call it a day, but filtration alone cannot neutralize living organisms the way UV-C light can. UV lights installed inside your air handler or ductwork emit germicidal radiation that disrupts the DNA of microorganisms, rendering them unable to reproduce. The result is cleaner, healthier air delivered to every room in your home with every cycle your system runs.
This upgrade is especially valuable in Tega Cay and surrounding areas, where warm, humid conditions create an ideal environment for mold spores and bacteria to thrive inside HVAC equipment. Here is why homeowners are making the switch:
- Mold and Mildew Control: UV lights target the evaporator coil, which is one of the most common breeding grounds for mold growth inside an HVAC system. Consistent exposure keeps biological buildup from forming.
- Pathogen Reduction: UV-C light neutralizes bacteria, viruses, and other pathogens that standard filters allow to pass through, making a measurable difference for households with allergy or asthma sufferers.
- Odor Elimination: Microbial growth inside ductwork and on coils contributes to musty or stale odors. Addressing the source directly helps your home smell fresher without relying on air fresheners.
- System Efficiency: When coils stay clean and free of biological buildup, your HVAC system transfers heat more effectively, reducing strain on the unit and lowering energy costs over time.
Making this investment early pays dividends not only in air quality but in the long-term health of your equipment. A cleaner coil runs more efficiently, extends equipment life, and keeps maintenance costs lower year after year.
6 Steps of HVAC UV Light Installation
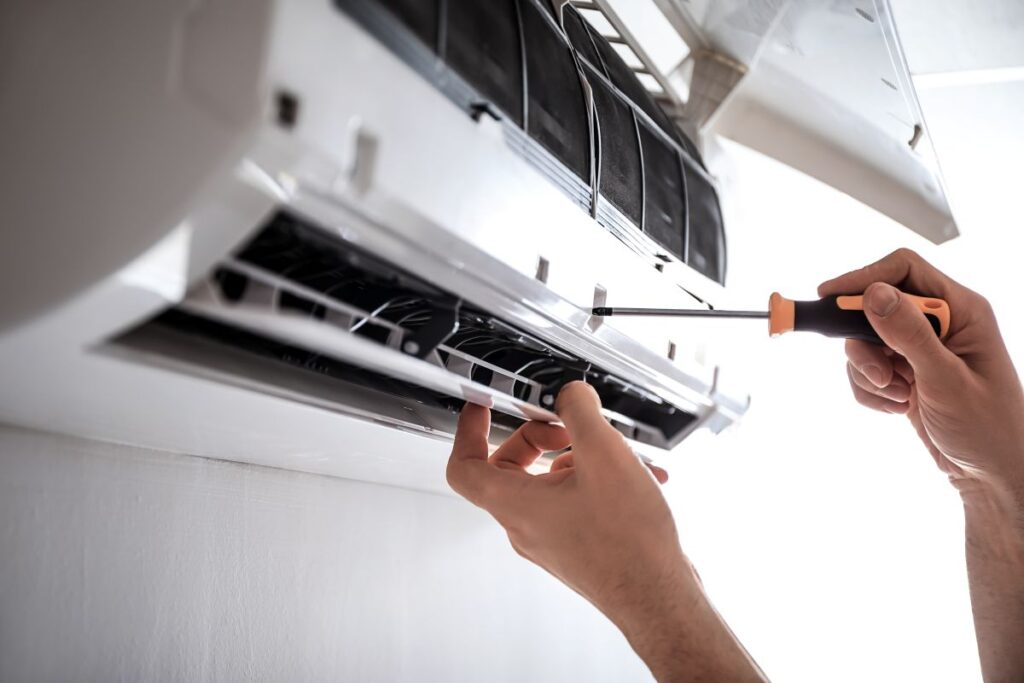
Installing a UV light in your HVAC system is a straightforward process for a licensed technician and follows a consistent sequence regardless of system type. Each step requires care and attention to ensure the light is positioned correctly and wired safely. Here is what the process looks like from start to finish.
Step 1: Evaluate Your System and Choose the Right Unit
Before purchasing a UV light, a technician will assess your HVAC system to determine which type of unit fits best. Coil sterilization lights mount near the evaporator coil and run continuously, while air sterilization lights install in the return air duct and cycle on with the blower. The size of your system, the layout of your air handler, and your air quality goals all factor into this decision.
- Single-lamp vs. dual-lamp configurations should match your coil size
- Systems in high-humidity climates benefit most from coil-focused units
- Confirm voltage requirements match your air handler’s electrical supply
Step 2: Turn Off Power to the HVAC System
Safety comes first. The technician will shut off power at both the thermostat and the main disconnect or breaker before opening any access panels. Working inside a live air handler presents serious electrical risks, and UV-C light itself is harmful to eyes and skin. No installation work should begin until the system is fully de-energized and confirmed off.
Step 3: Access the Air Handler and Locate the Mounting Point
With the power off, the technician opens the service panel on the air handler to locate the evaporator coil or return duct, depending on the unit type being installed. The ideal mounting location gives the UV light a direct line of sight to the coil surface or maximum exposure to passing airflow.
- The coil section is typically accessed through a removable panel on the side of the air handler
- Some systems require a small hole to be drilled for the lamp housing or wiring
- The mounting surface must be clean and free of debris before installation begins
Step 4: Install the UV Light Lamp and Housing
The lamp housing is secured to the interior wall of the air handler or duct using the included mounting hardware. The UV bulb is inserted carefully, since skin oils from bare hands can damage the lamp and reduce its lifespan. Most manufacturers recommend handling bulbs with gloves or a clean cloth.
- Confirm the lamp is seated securely before proceeding
- Route the power cord to a nearby outlet inside the cabinet or hardwire to the system as specified
- Dual-lamp systems may require a small ballast unit to be mounted separately
Step 5: Wire the UV Light to the System
Depending on the unit, the UV light will either plug into a standard outlet inside the air handler cabinet or be hardwired to the system’s control board so it cycles with the blower. A licensed technician will follow the manufacturer’s wiring diagram precisely and ensure all connections are secure and properly insulated. Improper wiring is the most common cause of UV light failure after installation.
Step 6: Restore Power, Test, and Verify Operation
Once everything is wired and secured, power is restored to the system. The technician verifies that the UV lamp illuminates and that the system operates normally with no unusual noises, tripped breakers, or error codes. Most UV lights include a small indicator light visible through a viewing port so homeowners can confirm the lamp is running without opening the cabinet.
- Some units include a lamp life indicator that counts down to the next replacement
- Test the system through at least one full heating or cooling cycle
- Document the installation date so you know when the bulb is due for replacement
Completing each step carefully and in sequence ensures you get the full performance benefit from your UV system for years to come.
Choosing the Right UV Light for Your Home
Not every UV light system is the same, and selecting the right one makes a real difference in long-term performance. The two main categories serve different purposes, and understanding each helps you make a confident choice for your specific situation.
Coil Sterilization Lights
These units mount directly in front of the evaporator coil and run continuously, exposing the coil surface to UV-C radiation around the clock. They are the most popular choice in Tega Cay and surrounding areas because they directly address coil contamination, the primary source of mold growth and efficiency loss in humid climates. Most coil units use a single lamp rated for 9,000 to 17,000 hours before replacement is needed.
Air Sterilization Lights
Air sterilization units install in the return air duct and activate each time the blower runs. Rather than targeting a fixed surface, they treat the air moving through the system in real time. These are an excellent choice for households with respiratory sensitivities or anyone dealing with recurring airborne allergen issues.
What to Look for When Comparing Products
- Lamp Output: Look for units with a minimum output of 36 watts for whole-home effectiveness
- Housing Material: Aluminum or stainless steel housings resist corrosion far better than plastic alternatives
- Warranty Coverage: A reputable UV light system should carry at least a one-year warranty on the ballast and a lamp replacement guarantee
- Certification: UL-listed units meet safety standards and are the only type a professional installer should use
Taking the time to choose the right product upfront avoids underpowered units and premature replacements that add unnecessary cost over time.
Keeping Your UV Light System Working Year After Year
A UV light system is not entirely maintenance-free, but the upkeep required is minimal compared to the benefits it delivers. Understanding what routine care looks like will help you protect your investment and keep air quality consistent from season to season.
UV-C bulbs do not burn out the way traditional lightbulbs do. Their germicidal output degrades gradually over time even as they continue to glow. Most lamps need to be replaced every 9,000 to 17,000 hours, which typically translates to once every one to two years depending on whether your unit runs continuously or only with the blower. Replacing the lamp on schedule is the single most important maintenance task for keeping the system effective.
Beyond lamp replacement, the lamp surface should be wiped gently with a dry cloth during your annual HVAC tune-up to remove dust or residue that could reduce output. Wiring connections should also be checked to confirm nothing has loosened due to vibration. Homeowners in Tega Cay and surrounding areas who schedule regular HVAC maintenance can bundle UV light inspection into existing service visits, making upkeep simple and consistent.
Breathe Easier With Help From Panther HVAC
Improving your home’s air quality does not have to be complicated, but it does require the right expertise to get results. A properly installed UV light system treats the air your family breathes every day and protects the equipment you depend on year-round. The steps in this guide give you a clear picture of what the process involves and what to look for when choosing a system, but installation should always be handled by a qualified technician. At Panther HVAC, we bring the experience and attention to detail this kind of upgrade demands. If you’re ready to take the next step toward cleaner air in your home, contact us today and let our team build the right solution for your system.
