Thermostat Replacement: 7 Steps to Get It Right
When it comes to maintaining a comfortable and energy-efficient home, understanding the importance of thermostat replacement cannot be overstated. A malfunctioning or outdated thermostat can lead to unexpected temperature fluctuations, high energy bills, and reduced comfort. Whether you’ve noticed inconsistent heating or cooling or you’re simply upgrading to a smarter system, replacing your thermostat is a task that deserves careful planning and execution. For those considering an upgrade, exploring professional thermostat installation services available through specialized heating and cooling providers can ensure a smooth transition and optimal results.
- Discover why a reliable thermostat is essential for home comfort and savings.
- Learn the key steps involved in selecting and replacing your thermostat properly.
- Find out how to enhance your home’s HVAC system with the right thermostat features.
- Understand additional considerations to maximize the longevity of your new thermostat.
Why Thermostat Replacement Matters
Replacing your thermostat is more than just an upgrade; it directly impacts your home’s efficiency, comfort, and cost savings. An outdated or faulty thermostat can cause your HVAC system to work harder than necessary, leading to potential damage and higher utility bills.
- Improved Energy Efficiency: Modern thermostats precisely control temperature, reducing wasted energy and lowering your monthly bills.
- Enhanced Home Comfort: A reliable thermostat helps maintain consistent indoor temperatures across all rooms.
- User-Friendly Features: Newer models offer programmable schedules and remote control, adding convenience to daily temperature management.
- System Compatibility: Proper replacement ensures your thermostat aligns with your HVAC system’s requirements, preventing malfunctions.
- Long-Term Savings: A well-functioning thermostat may reduce wear and tear on heating and cooling systems, extending equipment life.
7 Essential Steps for Thermostat Replacement
Following a systematic approach ensures your thermostat replacement goes smoothly. Here are the seven crucial steps to guide you through the process effectively.
1. Assess Your Current Thermostat and HVAC System
Begin with a thorough inspection of your existing thermostat’s performance and compatibility. Determine whether it supports your current heating and cooling setup.
- Note issues such as unresponsiveness, inaccurate temperature readings, or frequent cycling.
- Identify your HVAC system type (e.g., conventional, heat pump, multi-stage) to inform your thermostat choice.
- Consider whether your setup uses low-voltage wiring or line voltage controls.
2. Choose the Right Thermostat Model
Select a thermostat that fits your needs and system compatibility. Options range from simple manual models to smart thermostats with Wi-Fi connectivity.
- Manual Programmable: Set fixed temperature schedules for savings and comfort.
- Smart Thermostats: Adapt to your patterns and allow control via smartphone apps.
- Consider features such as touchscreens, voice control, sensor compatibility, and energy reports.
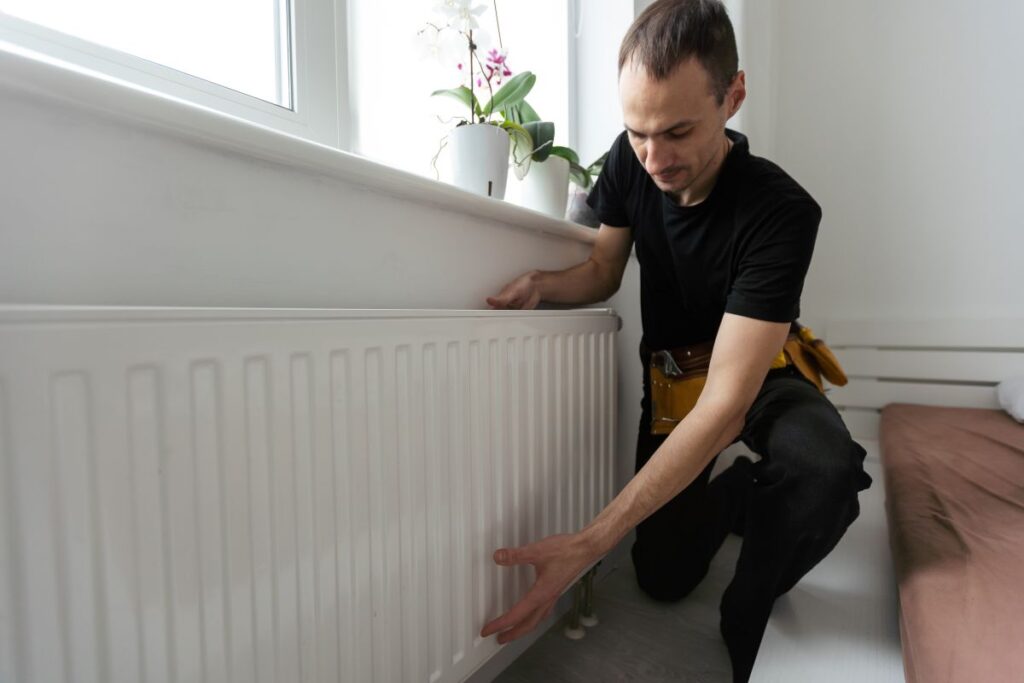
3. Prepare Your Workspace and Gather Tools
Before beginning installation, ensure you have a clear work area and the necessary tools. This preparation reduces errors and saves time.
- Common tools include screwdrivers, wire strippers, voltage tester, and drill if needed.
- Switch off power to the HVAC system at the breaker panel to ensure safety.
- Review manufacturer instructions for any model-specific tools or steps.
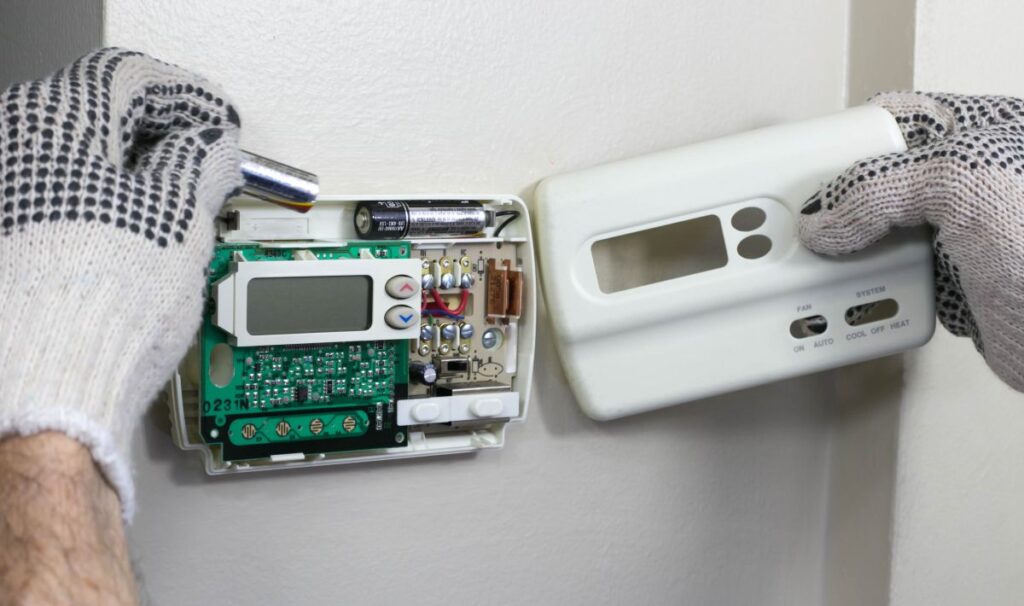
4. Remove the Old Thermostat
Carefully detach the existing thermostat from the wall and disconnect the wiring, labeling wires as you go for easier setup.
- Take a photo or make notes of wire connections.
- Remove mounting screws and wall plate gently.
- Inspect wiring condition to identify any damage.
5. Install the New Thermostat Base
Mount the new thermostat base, ensuring secure attachment and proper wiring according to the labels and instruction guide.
- Use a level to keep the thermostat straight.
- Connect wires to corresponding terminals precisely, avoiding loose connections.
- Double-check that all wires fit snugly and none are pinched.
6. Attach the Thermostat Display and Restore Power
After wiring and mounting, snap the thermostat’s control panel onto its base and turn the system power back on to verify function.
- Follow prompts for initial setup like Wi-Fi connection or temperature calibration.
- Check for correct temperature display and system response.
- Troubleshoot any error codes or issues with manufacturer support.
7. Program and Customize Settings

Configure schedules, temperature preferences, and preferred modes to maximize comfort and savings.
- Set weekday and weekend temperature schedules suited to your daily routine.
- Enable energy-saving features such as eco modes or geofencing.
- Integrate with smart home systems if compatible.
Enhancing Your HVAC System with the Right Thermostat
Beyond basic replacement, today’s thermostats offer features that significantly enhance your home’s HVAC performance. Exploring these can elevate your comfort and convenience levels dramatically.
Remote Access and Control
Smart thermostats allow you to manage heating and cooling from anywhere using mobile apps. This allows temperature adjustments while away from home, preventing unnecessary energy use.
Learning Capabilities
Some thermostats adapt automatically by learning your preferences and adjusting accordingly. This personalization improves insulation and comfort without manual input.
Energy Usage Reports
Insightful reports provide feedback on how your HVAC system performs and where you can save energy, empowering more sustainable choices.
Integration with Voice Assistants
Voice-enabled thermostats can connect with popular assistants such as Alexa, Google Assistant, or Siri for effortless control.
Additional Considerations for Thermostat Longevity and Performance
To ensure your new thermostat delivers long-lasting performance, keep the following maintenance and usage tips in mind. Proper care prevents common issues and extends device lifespan.
Regular Calibration Checks
Periodically verify the thermostat’s temperature reading matches reliable thermometers to avoid inaccurate control.
Firmware Updates
Keep smart thermostat software up-to-date to benefit from improved functionality and security patches.
Avoid Direct Sunlight and Drafts
Install the thermostat away from windows, heat sources, or drafts to prevent false readings and erratic HVAC cycling.
Professional Service
Schedule routine HVAC inspections to identify and address underlying system issues that could affect thermostat performance.
Next Steps For Replacing Your Thermostat
Getting thermostat replacement right is essential to enhancing home comfort, optimizing energy use, and protecting your HVAC investment. By carefully assessing your system, choosing the appropriate model, and following precise installation steps, you set the foundation for a reliable and efficient climate control solution. Should you need expert assistance or professional installation, do not hesitate to contact us today for dependable support tailored to your local needs.
Making the right thermostat choice benefits your home environment and energy bills for years to come.
