Thermostat Wiring Explained (5 Diagrams & Safety Tips)
Understanding thermostat wiring is essential for anyone looking to install, upgrade, or troubleshoot their home heating and cooling systems. A properly wired thermostat ensures efficient temperature control, energy savings, and comfort throughout the year. Whether you’re a homeowner trying to replace your thermostat or a DIY enthusiast curious about how these systems connect, mastering thermostat wiring can save time, money, and frustration. For those seeking professional assistance or detailed system upgrades, exploring services related to thermostat installation can provide expert help tailored to your specific heating and cooling setup.
- Learn why thermostat wiring is crucial for HVAC system efficiency
- Understand common thermostat wiring configurations with detailed diagrams
- Discover five step-by-step wiring setups for various thermostat types
- Review essential safety tips to prevent wiring errors and hazards
- Explore troubleshooting advice and when to seek professional help
The Importance of Proper Thermostat Wiring

Thermostat wiring plays a pivotal role in the performance and safety of your heating and cooling system. Without correct wiring, your thermostat cannot communicate effectively with your HVAC equipment, potentially leading to inconsistent temperatures, system damage, or increased energy bills. Proper wiring ensures that your climate control system operates smoothly and responds accurately to your comfort needs.
- Enhanced System Efficiency: Accurate wiring enables your HVAC system to work only when necessary, reducing energy consumption and saving on utility costs.
- Improved Comfort Control: Correct wiring ensures reliable communication between thermostat and system components, maintaining consistent indoor temperatures.
- Protection Against System Damage: Faulty wiring can cause short circuits or send incorrect signals that may damage HVAC parts, leading to costly repairs.
- Ease of Troubleshooting: Well-organized and standardized wiring simplifies diagnosis and repair when issues arise.
- Compatibility with Smart Thermostats: Many modern thermostats require specific wiring to support features like WiFi connectivity, zoning, and remote control.
5 Common Thermostat Wiring Diagrams Explained
Thermostat wiring can vary based on the type of HVAC system and thermostat model. Below are five common thermostat wiring configurations that you’ll frequently encounter when dealing with residential heating and cooling systems in homes around cities like Chicago and surrounding areas.
1. Basic Single-Stage Heating System
This wiring setup is typical for homes with a simple furnace system that only controls one heating stage.
- Red Wire (R): Power supply from the transformer
- White Wire (W): Heating control signal
- Common Wire (C): Provides continuous 24V power (not always present)
In this configuration, the thermostat connects the R wire to the W wire when heat is needed, completing the circuit that signals the furnace to turn on.
2. Single-Stage Heating and Cooling System
For homes with a single-stage furnace and air conditioner, additional wiring accounts for cooling.
- Red Wire (R): Power from transformer
- White Wire (W): Heating control
- Green Wire (G): Fan control
- Yellow Wire (Y): Cooling control
- Common Wire (C): Continuous power supply
The thermostat activates the W wire when heating and the Y wire when cooling, while the G wire controls the blower fan.
3. Multi-Stage Heating and Cooling System
Homes with more complex HVAC systems might have multiple heating or cooling stages for better comfort control and efficiency.
- R Wire: Power
- W1 and W2 Wires: First and second stage heating
- Y1 and Y2 Wires: First and second stage cooling
- G Wire: Fan control
- C Wire: Common wire
This setup allows the thermostat to activate different stages depending on demand.
4. Heat Pump Systems
Heat pump thermostats use wiring configurations tailored to reversing valves and auxiliary heat.
- O or B Wire: Controls the reversing valve direction
- Auxiliary Heat (E or W2): Heat strips that assist during cold weather
- Other wires function similarly to standard HVAC setups (R, Y, G, C)
Correct wiring of the O/B wire is critical for switching between heating and cooling modes in heat pumps.
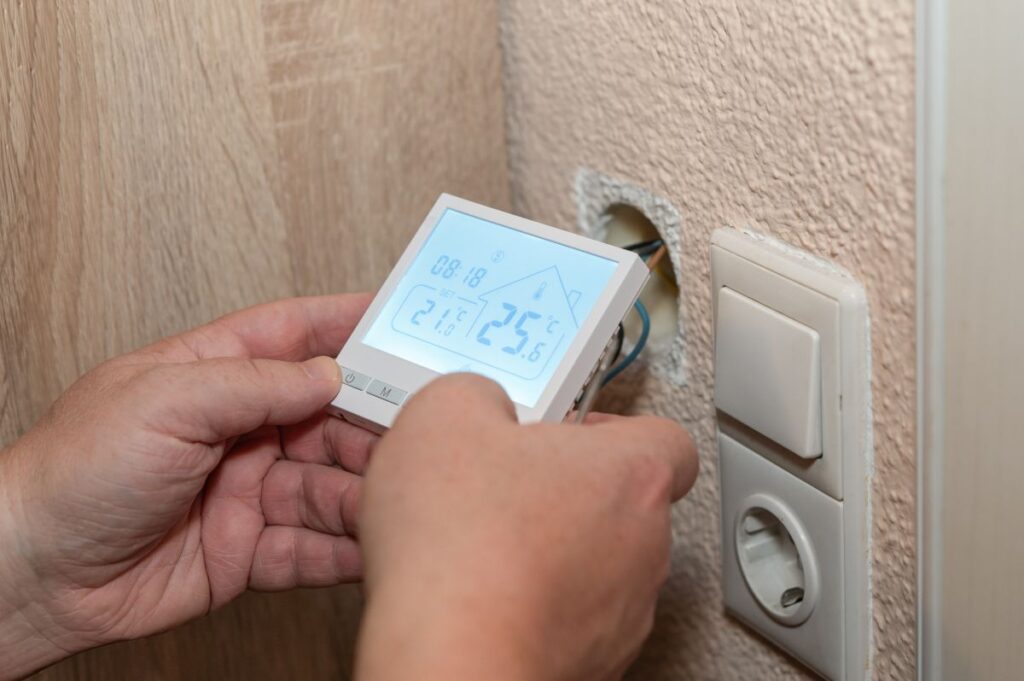
5. Programmable and Smart Thermostats
Modern thermostats often require additional wiring to support advanced features.
- Common Wire (C): Provides continuous power to the thermostat’s electronics
- Additional Wires: Some models may use extra wires for auxiliary outputs or multiple zones
Verifying existing wiring compatibility is essential before installing a smart thermostat.
Key Safety Tips for Handling Thermostat Wiring
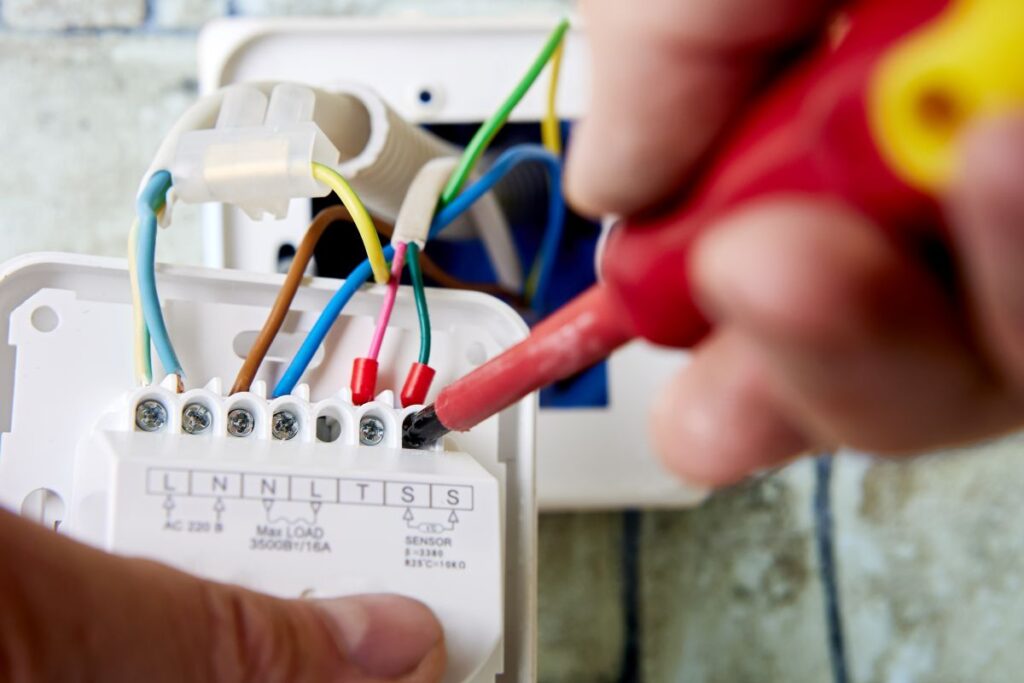
Working with thermostat wiring involves exposure to electrical currents. Even though most thermostat systems operate on low voltage, following safety precautions helps prevent accidents and damage.
- Turn Off Power: Before starting any work, switch off power at the circuit breaker to the HVAC system.
- Use a Voltage Tester: Confirm that wires are not live before touching them.
- Label Wires: Mark all wires with tape and labels to avoid confusion during reassembly.
- Avoid Touching Bare Wires: Ensure exposed ends are handled carefully to prevent short circuits.
- Follow Manufacturer Instructions: Always refer to thermostat and HVAC system manuals for model-specific guidance.
Troubleshooting Common Thermostat Wiring Issues
Even with careful installation, wiring problems can occur causing the thermostat or HVAC system to malfunction. Identifying symptoms and knowing when to get expert help will keep your heating and cooling running reliably.
Fan or System Not Turning On
This issue often means that the R, G, or W wires may be disconnected or incorrectly connected.
- Check connections for firmness and proper placement
- Test the thermostat by temporarily connecting R to W or G to see if system responds
Thermostat Display Is Blank
A blank screen usually indicates power issues.
- Verify the presence of a C wire providing constant 24V
- Check batteries if it is a battery-powered thermostat
- Inspect circuit breaker and transformer
System Cycles Too Often or Doesn’t Reach Set Temperature
Wiring or thermostat placement may cause frequent cycling or inaccurate readings.
- Confirm wires are correctly matched according to the wiring diagram
- Ensure the thermostat is placed away from drafts, sunlight, or heat sources
Enhancing Your HVAC Experience with Proper Thermostat Setup
Choosing the right thermostat and wiring it correctly can make a noticeable difference in your home’s comfort and efficiency. As your HVAC technology evolves, having a firm grasp of wiring fundamentals allows you to upgrade systems, adopt smart thermostats, and troubleshoot issues confidently. For residents in Chicago and surrounding areas, professional HVAC service providers offer tailored advice and installation for thermostat wiring, ensuring your systems perform optimally through every season.
Investing time to understand your thermostat wiring setup will empower you to maintain your system better and prevent unforeseen issues. Whether you are managing traditional systems or integrating modern smart technology, proper wiring is the foundation that supports all HVAC performance.
Secure Your Home Comfort with Expert Support
Mastering thermostat wiring is vital, but professional assistance ensures safety and precision, especially for complex systems. If you experience difficulties or need a system upgrade, do not hesitate to contact us today. Panther’s experienced technicians deliver reliable thermostat wiring services and HVAC solutions tailored to your home’s specific requirements. Reach out through our contact page and ensure your heating and cooling system is wired for comfort and efficiency.
